5 Simple Tricks to Check If That Viral Image is Real
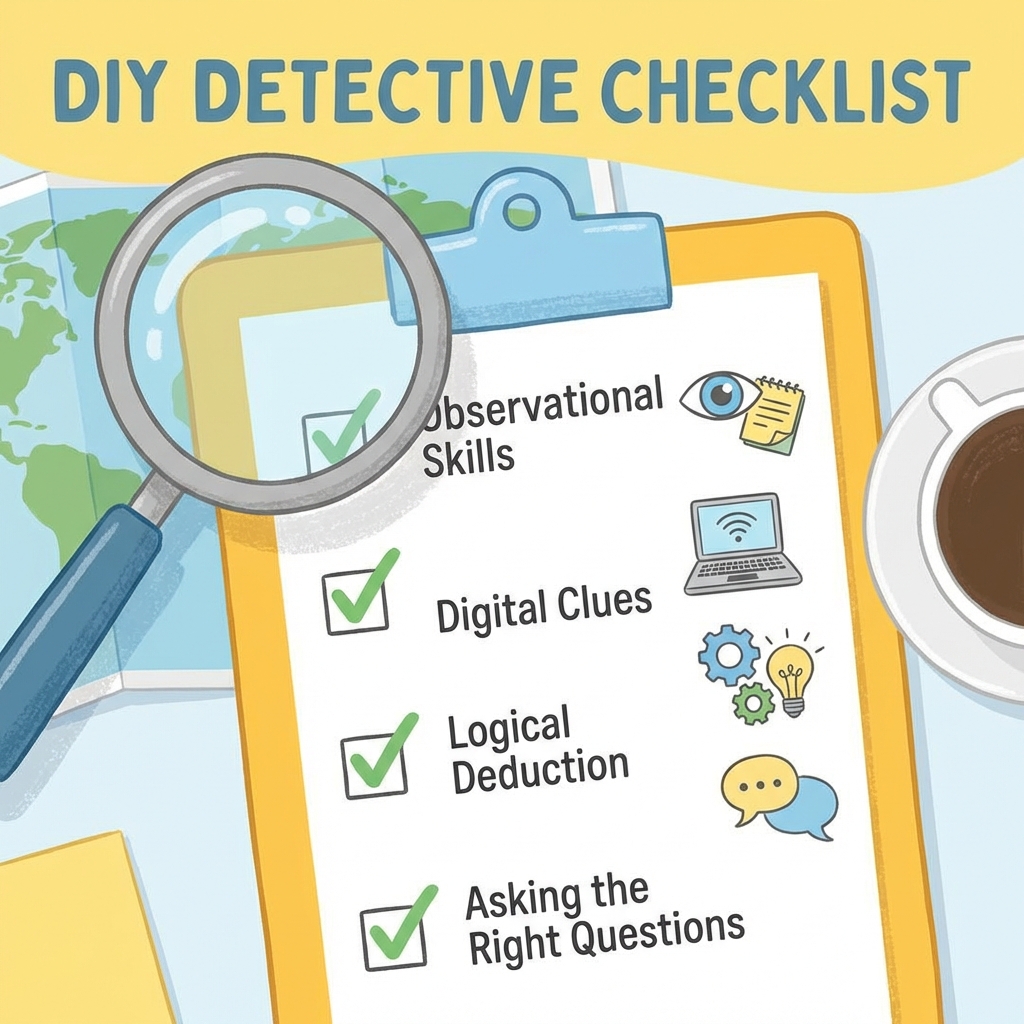
5 Simple Tricks to Check If That Viral Image is Real
You've seen it happen. A shocking photo goes viral on social media, gets shared thousands of times, makes headlines—and then gets debunked as AI-generated or manipulated. By then, the damage is done. Millions of people believed something that wasn't true, all because of one convincing fake image.
I'll be honest: I've been fooled more times than I'd like to admit. That dramatic photo of a natural disaster? AI-generated. The heartwarming rescue story? Staged with a fake image. The celebrity scandal? Completely fabricated with manipulated photos.
But here's the good news: you don't need to be a tech expert or have special software to spot most fake images. After years of falling for fakes and learning from my mistakes, I've developed five simple tricks that anyone can use. They won't catch everything, but they'll catch enough to make you a much more informed consumer of online content.
Trick #1: The Reverse Image Search (Your New Best Friend)
This is the single most powerful tool in your fake-detection arsenal, and it's completely free. When you see a suspicious image, right-click it and select "Search Image with Google" (or use TinEye if you prefer).
What does this tell you? If that "breaking news" photo has been circulating online for years, Google will show you. If it's from a different event entirely, you'll find out. If it's stock photography being passed off as real, the search will reveal it.
Real example: Last month, someone in my neighborhood Facebook group posted what they claimed was a photo of a "suspicious vehicle" seen lurking around local homes. The post caused panic. One quick reverse image search revealed it was a stock photo from a security company's website, posted years ago. Crisis averted.
The catch: This only works if the image has been online before. It won't catch brand-new AI-generated images or freshly manipulated photos. That's why you need the other tricks too.
Trick #2: Look for the Weird Stuff (Hands, Teeth, and Text)
AI systems are getting incredibly good at generating realistic images, but they still mess up in predictable ways. Once you know what to look for, these mistakes become obvious.
Count the fingers. Seriously. AI struggles with hands more than anything else. I've lost count of how many viral images I've debunked just by counting fingers. Six fingers on one hand? Fingers bending the wrong way? Fingers merging together? All telltale signs of AI generation.
Check the teeth. When you see someone smiling in a suspicious image, zoom in on their teeth. Are they all the same size? Do they look like individual teeth or just a white blur? Real teeth have variations, gaps, and imperfections. AI teeth often look like someone took a white paintbrush to a mouth.
Read the text. Any text in the background—signs, book spines, storefronts—often gives away AI-generated images. The letters might be gibberish, words might be spelled wrong, or the text might look vaguely like real language but make no sense. I once spotted a fake because a "McDonald's" sign in the background was spelled "MahDonalps."
Trick #3: The Lighting Reality Check
This one's simple but surprisingly effective: does the lighting make sense?
Real photos have consistent light sources. If someone's face is lit from the right, their shadow should fall to the left. If the sun is overhead, shadows should be short and pointing down. AI systems often mess this up, creating impossible lighting scenarios.
I use this test constantly now. That viral photo of a celebrity at an event? The shadow under their chin says the light is coming from above, but their left side is brighter than their right, suggesting light from the side. These contradictions are everywhere once you start looking for them.
Another lighting trick: check reflections. If someone's wearing glasses or there's a shiny surface in the photo, do the reflections match what should be reflecting? AI often fails at this, creating reflections that don't make physical sense.
Trick #4: Trust Your Gut (Then Verify)
Here's something nobody talks about: your brain is actually really good at spotting fakes, even when you can't consciously explain why. That feeling that something's "off" about an image? That's your subconscious picking up on dozens of tiny inconsistencies.
I've learned to trust that gut feeling, then use it as a signal to investigate further with the other tricks. If an image makes you pause, even for a second, take that pause seriously.
Common "gut check" red flags: - Everything looks too perfect or too dramatic - The image seems designed to trigger an emotional response - Details don't quite match the story being told - Something about faces or expressions feels uncanny
But—and this is important—don't stop at your gut instinct. Use it as a starting point, then verify with the other methods. Sometimes photos look weird but are actually real. Sometimes they look perfectly normal but are completely fake.
Trick #5: Check the Source (And Then Check Again)
The easiest trick is often the most overlooked: where did this image come from?
If someone shares a dramatic photo with no source citation, that's red flag number one. Legitimate photos from legitimate sources usually come with credit—a photographer's name, a news organization, an official account.
But don't stop there. Click through to the claimed source. Does the image actually appear on their official website or verified account? Or is someone just claiming it came from there?
I can't count how many times I've seen images shared with captions like "Photo from CNN" or "Official NASA image," only to find nothing about it on CNN or NASA's actual websites.
Here's my personal source-checking checklist: - Who supposedly took this photo? - Can I find it on their official channels? - Is the account sharing it verified? - Has any reputable news organization covered it? - Are people fact-checking it in the comments?
Putting It All Together
These five tricks work best when used together. No single method catches everything, but combining them creates a pretty solid BS detector.
Here's my actual workflow when I see a suspicious image:
- Gut check—does something feel off?
- Source check—where did this supposedly come from?
- Reverse image search—has it been used elsewhere?
- Detail check—hands, teeth, text, lighting
- Cross-reference—what are other sources saying about it?
This whole process takes maybe two minutes. Two minutes that can save you from spreading misinformation to everyone in your social network.
Why This Matters
You might think, "It's just social media, who cares if I share one fake photo?" But it matters more than you'd think.
Every time we share misinformation—even unintentionally—we erode trust in real information. We contribute to an environment where truth becomes harder to find. We make it easier for deliberate deception to spread.
Plus, there are real-world consequences. Fake images have caused panic during emergencies, damaged reputations unfairly, influenced elections, and spread dangerous misinformation during crises.
The Bottom Line
These five tricks won't make you infallible. New deepfake technology is getting better every day. But they'll catch probably 80% of the fake images you encounter online, which is a huge improvement over catching 0%.
The goal isn't perfection—it's awareness. It's taking two minutes before you hit "share." It's asking "is this real?" before you help spread it to everyone you know.
Start using these tricks today. The next time you see something shocking, dramatic, or perfectly timed, pause. Check. Verify. Your social network will thank you for not being the person who spreads obvious fakes.
And hey, maybe you'll catch something that would have fooled thousands of people. That's a pretty good feeling.
Explore More Insights
Discover more technical articles on AI detection and digital forensics.
View All Articles